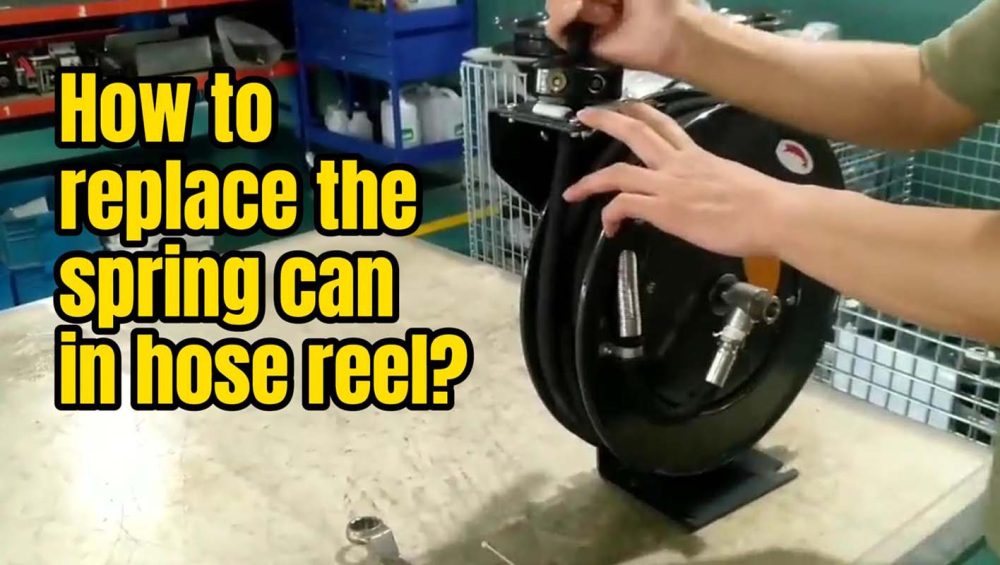
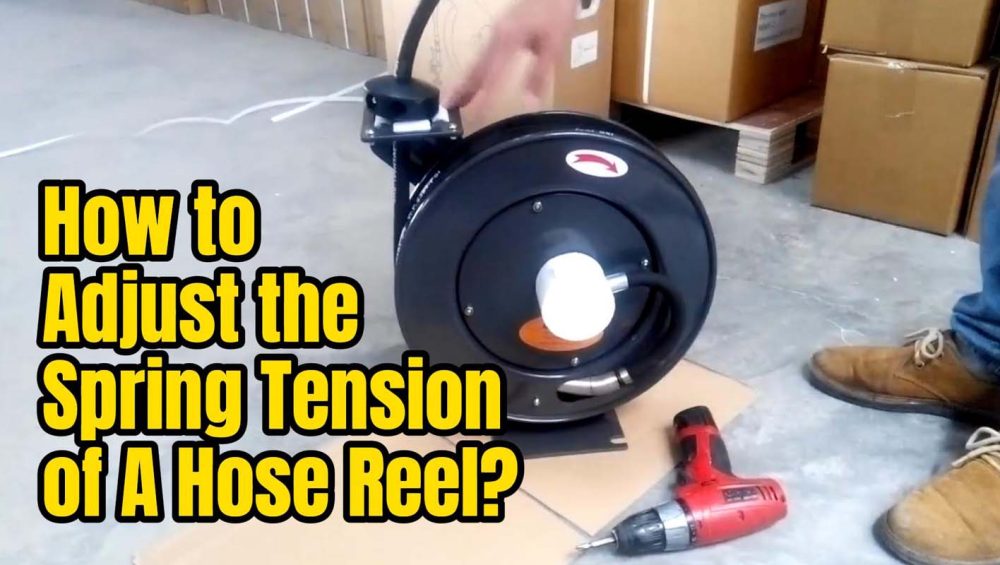
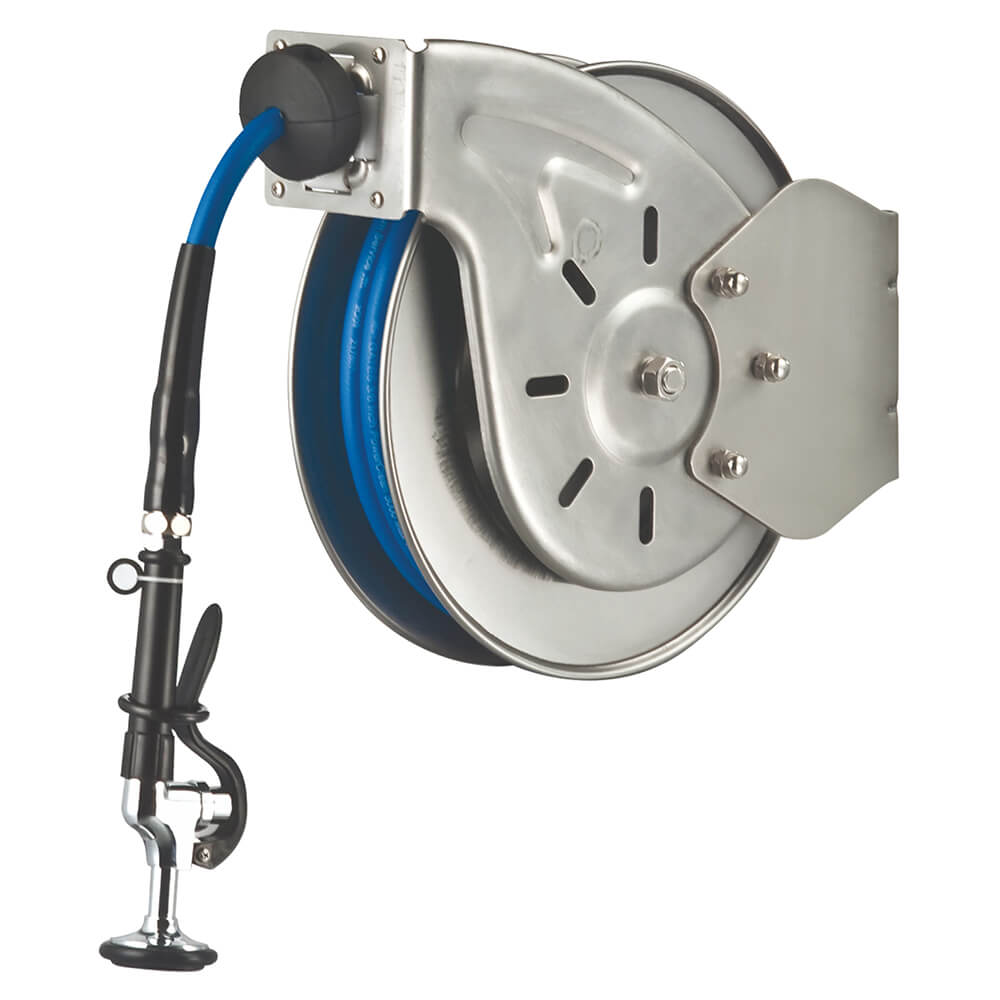
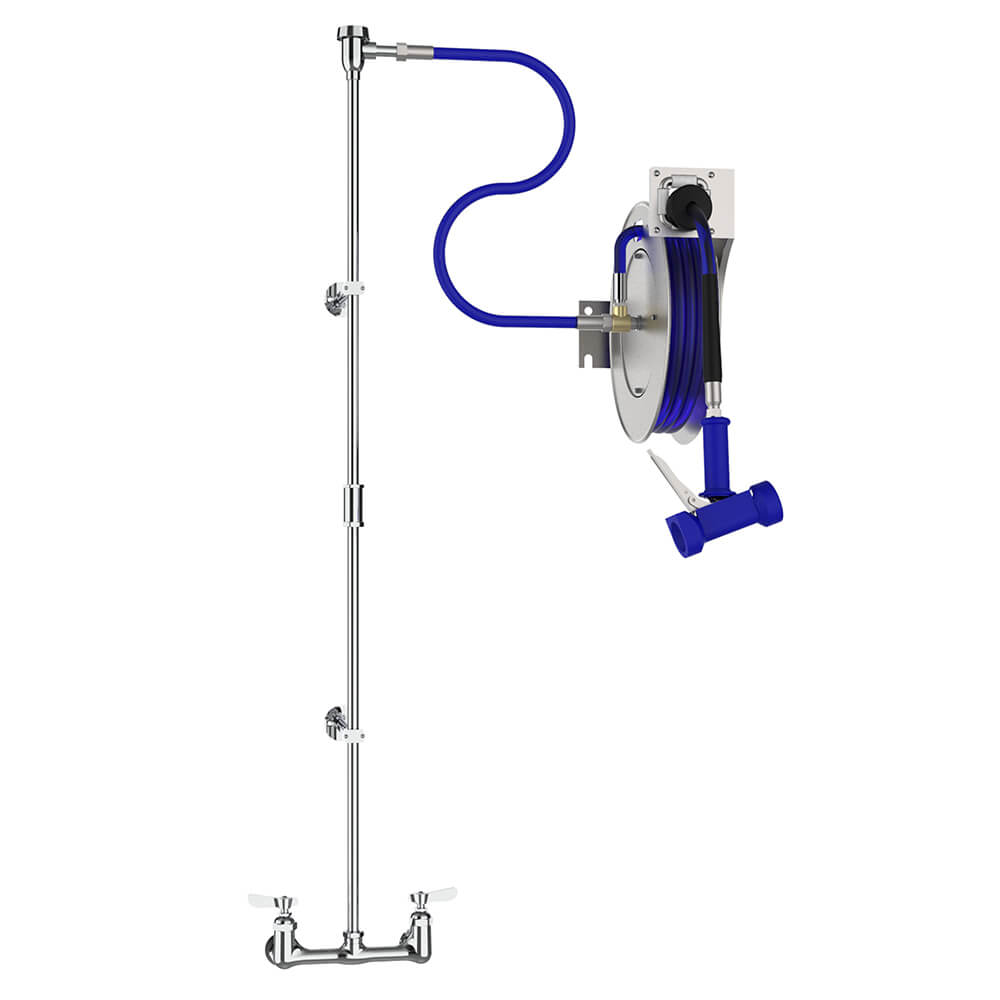
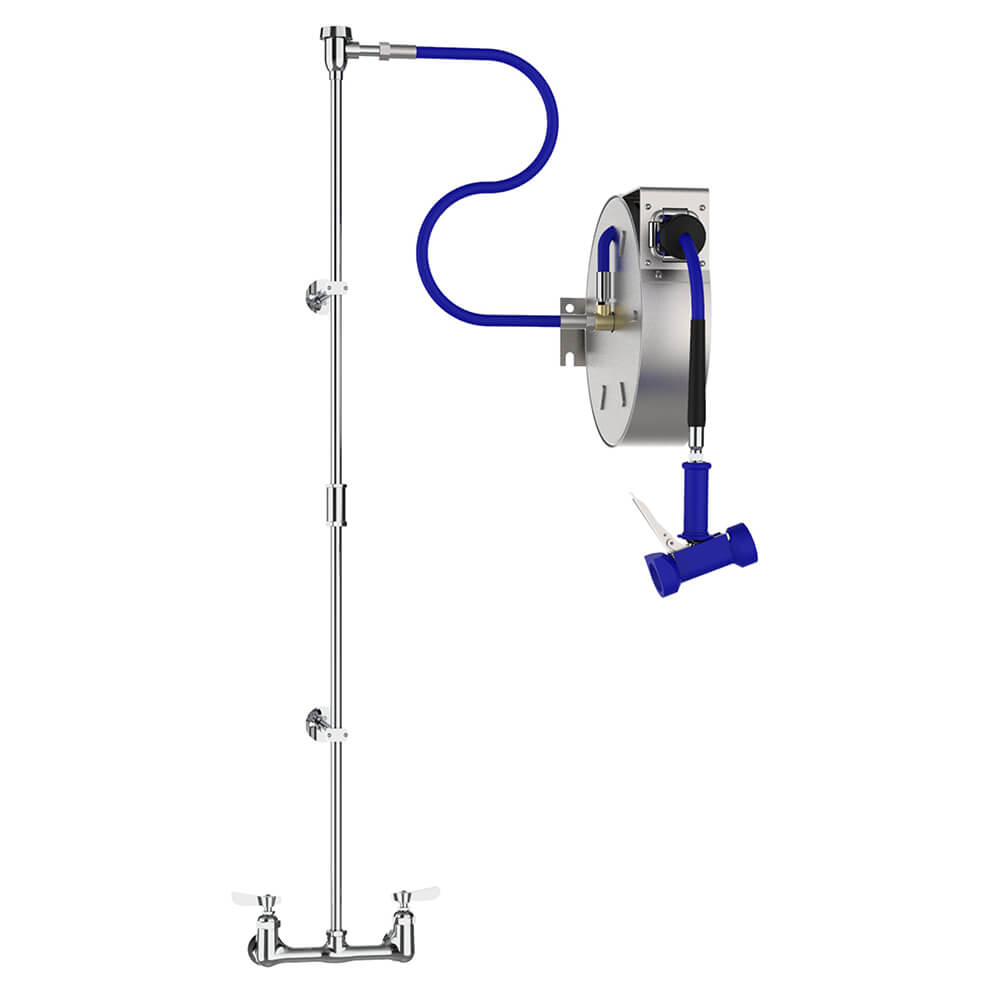
Today, we’re going to talk about replacing the spring can on this hose reel. As we all know, in some hose reels, the spring can can develop faults after long-term use. This is a hose reel. First we prepare the tools.
- a Phillips screwdriver
- a 3/8″ nut driver socket
- an external snap ring pliers
- a 24″ socket wrench.
Step 1 :
Remove the Tension from the Hose Reel
First of all, we have to remove the tension from the hose reel. I’m gonna pull out some hose and we’re gonna latch it in place, and then I’m gonna take off the position block. This is done with a Phillips screwdriver, okay? And then I’m going to unlatch the reel and let it wind itself until we lose all tension carefully, making sure the spring and the reel doesn’t get out of control. Continue to take the spring can off counterclockwise. If the tension is removed, it will be a little slower. Then tie this in a knot with a cable tie. If the cable tie is not available. You can fix this directly with a rope. So that it’s not flopping around while we’re working on it. Okay, we have the reel in a neutral position.
Step 2 :
Remove the Swivel
Now, the next step is going to be to remove the swivel. I just break the swivel loose and then remove it from the stud by hand. I’ll set that aside.
Step 3 :
Remove the Snap Ring
We’re gonna remove the snap ring that is holding the whole drum assembly, using our snap ring pliers. There’s a snap ring — and there’s a black plastic washer. Then we removed the drum assembly.
Step 4 :
Loosen the Nuts
There’s a nice orange label right here that tells you: “Do not open this cover.” We’re not sure it’s there when it is in a state inside, so, don’t take these four nuts off. And the next thing we’re gonna do is loosen the nuts that are on the other side. I’m using that one power socket wrench now. You will remove four nuts one by one. And you don’t have to worry about anything falling apart — this is all still a good assembly.
Step 5 :
Pull the Spring Can Out
The first thing to do is to take our plier and lightly tap on our two studs here. Okay, it just slide off. Our spring can is in this state when it leaves the factory. The real spring is inside this can cartridge, and you can’t see it.
Step 6 :
Push Spring Can Back on
Now, we can push this assembly back on. And you’re gonna need it to slide all the way back. Then we need to align up our studs with the holes in the can cartridge. And I’m going to turn the disk until I find the stud finds the hole, and I’ll push them together. I’ve got one of them in, and I’ll go ahead and put a nut on the one that’s through. So it doesn’t fall back out — when I push on the other one. We’ll use our 3/8″ nut driver to go ahead and reinstall our nuts – tighten them down.
Step 7 :
Put the Assembly Back in Place
We’re gonna align the center D — so the shaft has a D, and our spring can has a D — a flat. We just need to line those two up when we slide the two together. If you put it elsewhere, you can’t put it in. It needs to match here. And our next step will be to complete the assembly of the front. We’ll put our washer back first, then our metal snap ring — using our snap ring pliers. And then we will reinstall our swivel. Slide it on, and then we will tighten it.
Step 7 :
Put Some Tension on Hose Reel
Now, what we have here is a reel without any tension. So what we’re gonna do is we’re gonna put some tension on this to start with. We’re gonna put five pre-wraps, so: one, two, three, four, five — latched in place. Okay, we put five pre-wraps. Fish the hose through. And I’ll go ahead and reinstall the position block, which is essentially opposite of taking it off. There’s no point to tighten past the point where the rubber touches.
And that is how you replace the spring can on a reel’s spring driven pedestal style reel. Thank you for watching Tech Tips. Please check out our YouTube channel and have a nice day.